Wholesale 6x1.7mm Transparent PP Plastic Side Boning
PP Transparent Plastic Side Boning


| Material: | PP (polypropylene) plastic |
| Width: | 6mm |
| Thickness: | 1.7mm |
| Color: | Transparent |
| MOQ: |
|
◆ Lead Time: 25-35 days
◆ Shipping: Sea freight, Railway freight
◆ Payment: T/T, L/C ...
Product Details
Material: PP
Size: 6*1.7mm
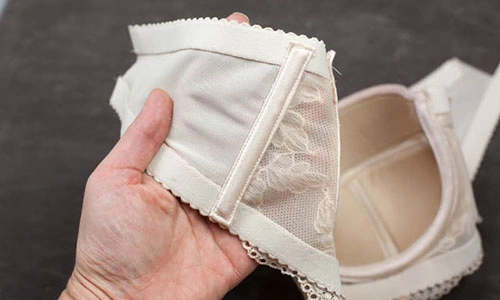
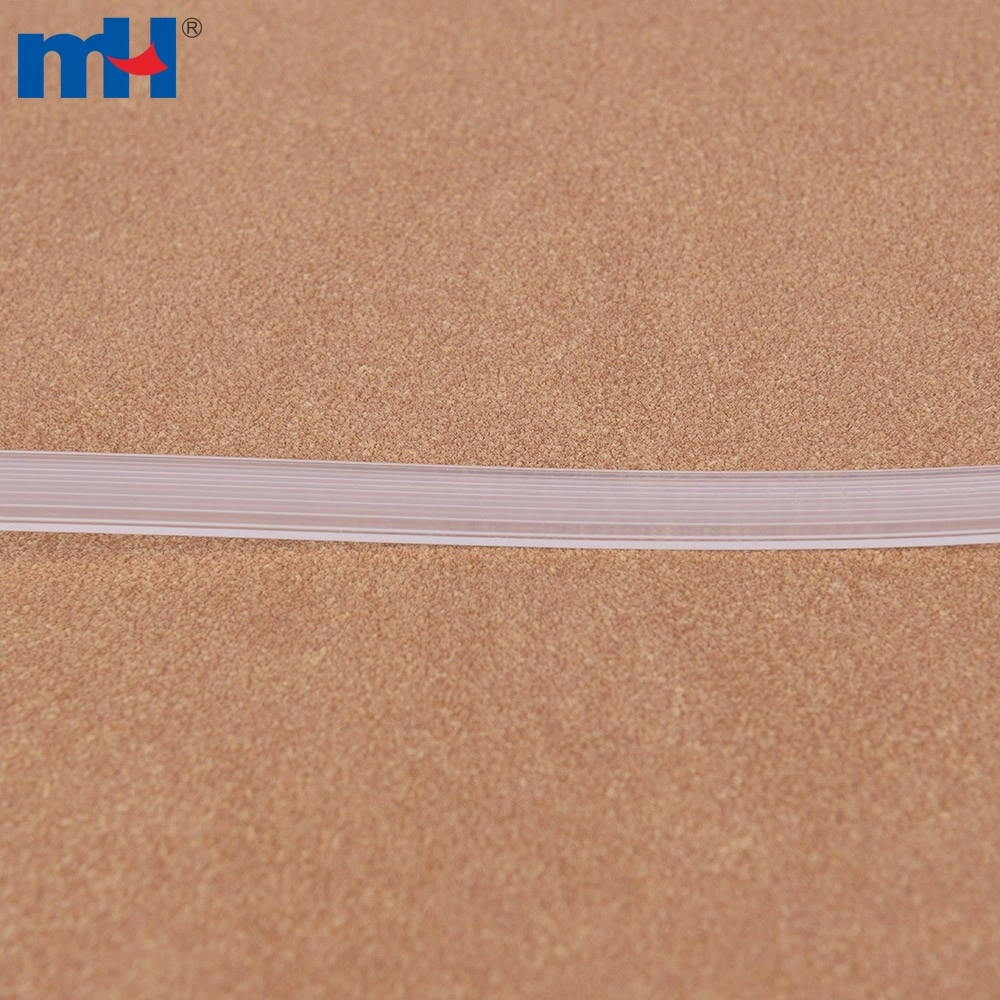
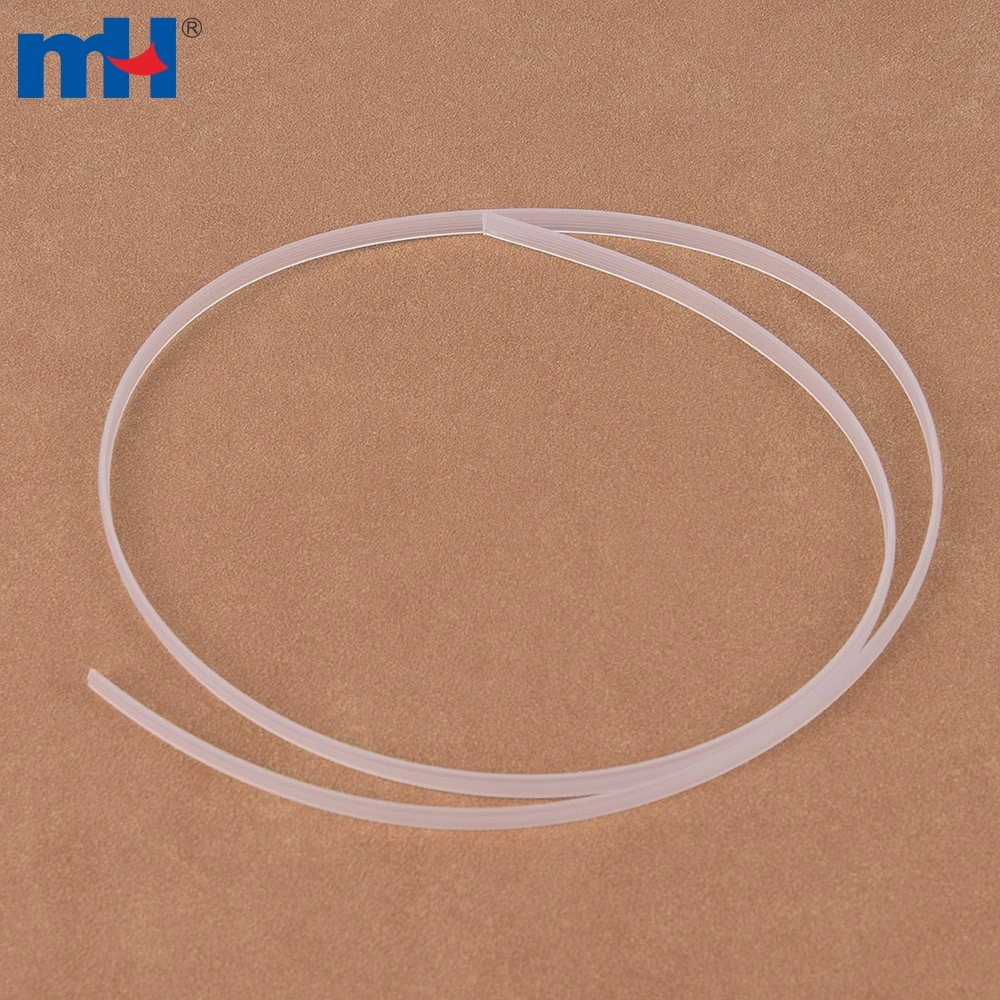
MH PP side boning is a 6x1.7mm transparent polypropylene strip that sits inside bra and corset side-seam channeling to add structure.
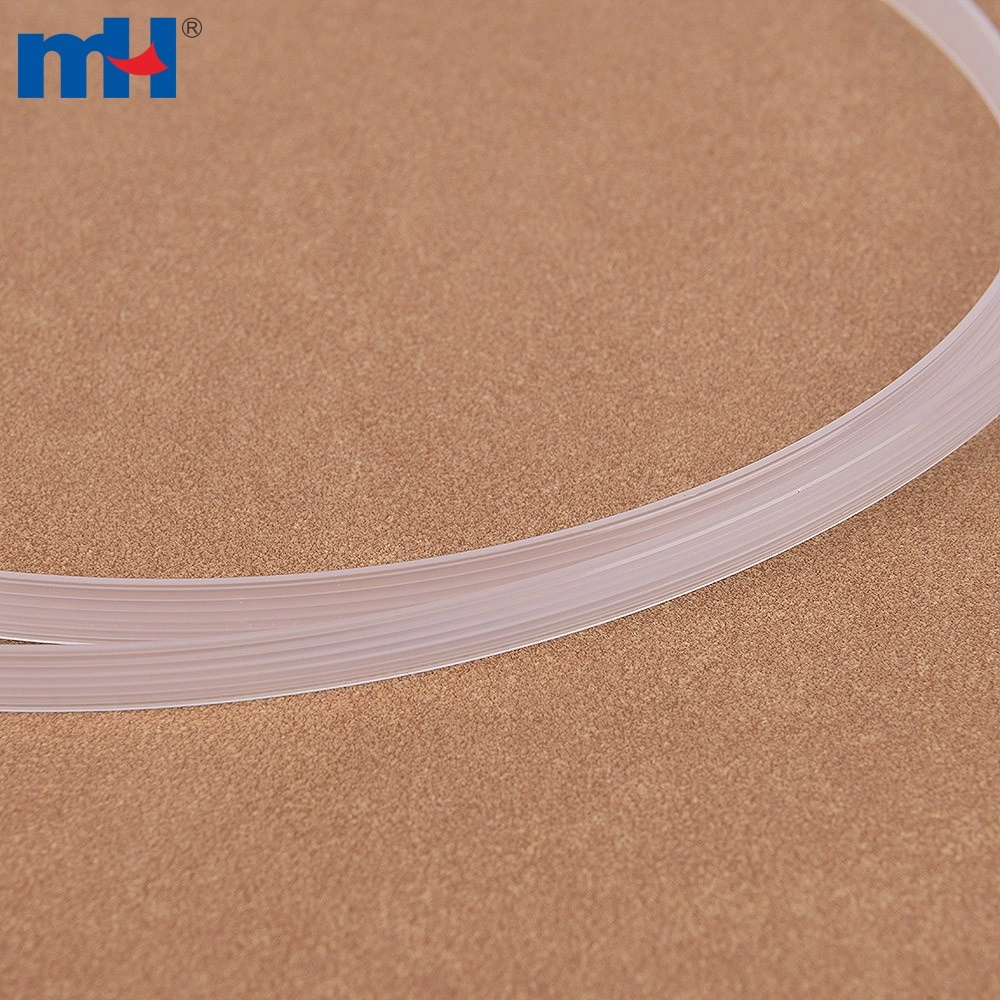
A light surface texture helps the boning grip seam tape and stay put while sewing, and the transparent polypropylene blends with most lining fabrics for a clean interior.
The boning suits bras, bustiers, corsets, swimwear, shapewear, and other intimate apparel, giving lingerie makers a support strip that can be customized in size, length, and color.
Key Selling Points
- Flexible, shape-recovering support: MH PP side boning bends with the body and springs back, holding a garment's structure without feeling stiff.
- Textured grip for sewing: A light surface texture helps the boning hold seam tape in place while stitching, so it does not shift during construction.
- Transparent, clean interior: The transparent polypropylene blends with most lining fabrics, keeping the inside of a bra or corset looking neat.
- Easy to trim and finish: The boning cuts to length and its ends round off cleanly, letting workrooms fit it to a pattern without sharp corners.
- Custom sizing: MH offers the side boning with customizable size, length, and color to match a lingerie or corset program.
How to add side boning to a bra?
1. Lay your boning on your the side seams and mark off the length you want. Make sure to leave some room above and below the boning to close the channeling. Then cut.
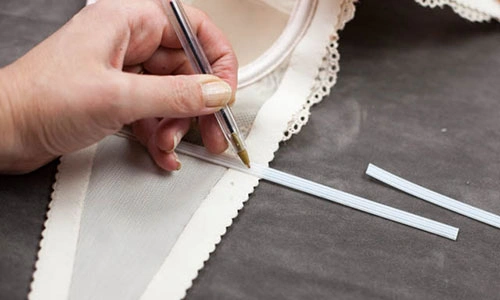
2. Round off the ends of the boning with a nail file. This prevents sharp corners from poking through. You can also use your scissors to created rounded ends on the plastic.

3. Now it’s time to add your channeling. Line up the channeling so that it is centered over your side seam and stitch down each side, leaving the ends open.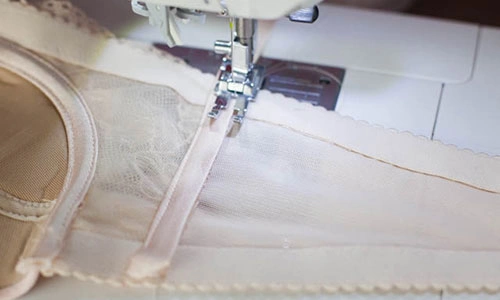
4. Insert your bones and test the length. Do you have enough room to close off the channeling with your machine foot? If not file or cut a bit more off the ends.

5. Close off the ends. I stitch forward and backward with a small-length straight stitch.