How to Braid Embroidery Floss: A Step-by-Step Guide for Beginners
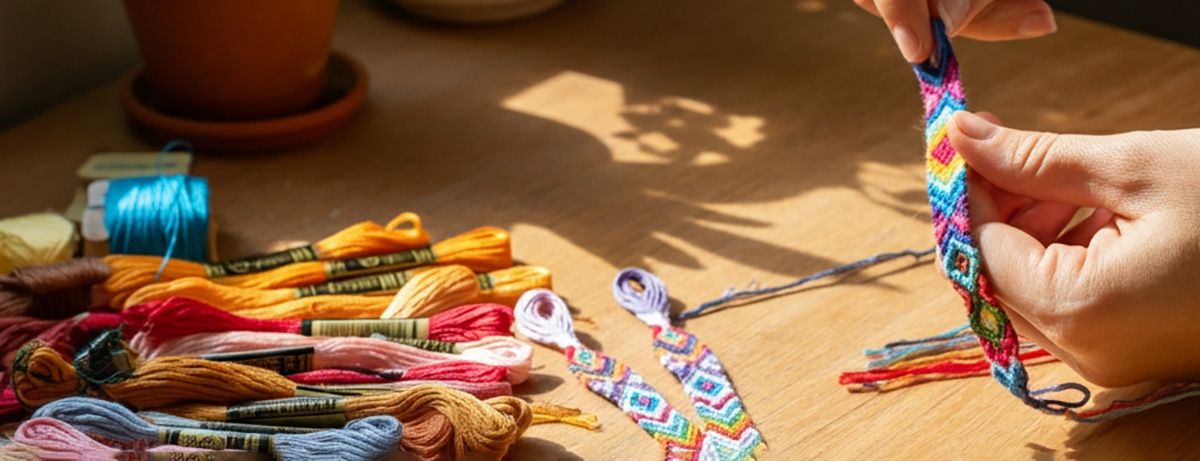
Creating beautiful designs with embroidery floss is a versatile and enjoyable way to explore your creativity. Whether you're crafting friendship bracelets, incorporating floss into hair wraps, or experimenting with intricate patterns, mastering the art of braiding embroidery floss is a skill that can elevate your DIY projects.
This guide will walk you through everything you need to know about braiding embroidery floss as a beginner. From selecting the perfect floss to advanced braiding techniques, we'll cover it all.
Getting Started with Embroidery Floss Braiding
Before we dive into the steps, it's essential to understand what embroidery floss is and why it’s the ideal material for braiding.
-
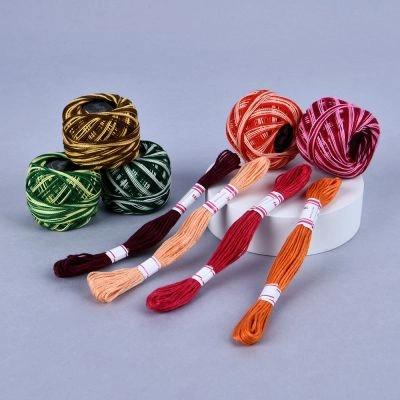
What is embroidery floss?

Embroidery floss is a smooth, six-stranded cotton thread commonly used for cross-stitching, embroidery, and DIY projects like friendship bracelets and decorative braids. Its durability and wide color range make it perfect for creating intricate designs.
-
Why choose embroidery floss for braiding?
Its texture and strength ensure your braids look neat and last longer. High-quality options, like DMC Floss, add professionalism to your finish, minimizing fraying and enhancing vibrancy.
Benefits of Braiding Embroidery Floss
-
Accessible for beginners
Easy to handle, embroidery floss simplifies the process of learning braiding techniques.
-
Customizable designs
Create multi-colored, single-tone, or ombre effects with limitless color combinations.
-
Versatility
Use braids for jewelry, keychains, hair wraps, or even decorative trims for clothing.
By the end of this guide, you’ll understand everything from choosing the right floss to advanced techniques for creating unique braided designs.
Choosing the Right Embroidery Floss
Selecting Colors and Textures
-
Match your theme or design: Pick colors that fit the vision for your project.
-
Explore combinations for variety: Choose multi-colored schemes for vibrant outcomes, or stick to single-tone options for subtle sophistication.
-
Create ombre effects: Select shades within the same color family, moving from light to dark.
Why Quality Matters
Investing in premium-quality floss like DMC ensures durability, reduces fraying, and enhances the overall look of your braids. Cheap alternatives may not have the strength or polish desired for lasting projects.
Pro Tip: To avoid waste, start with small packs of floss in a few favorite colors before committing to larger bundles.
Preparing Your Floss for Braiding
Preparation is vital to achieving consistent and polished results with embroidery floss. Follow these steps for flawless braiding.
-
Organize Strands
-
Cut your floss into strands of equal lengths (typically 24 to 36 inches).
-
Leave extra length for knots and finishing.
-
-
Group Threads
-
Divide your floss into three strands. Each strand can consist of multiple threads to achieve desired thickness.
-
Keep similar colors together for a clean pattern.
-
-
Secure the Starting Point
-
Fold the strands in half and knot them at the top, forming a loop.
-
Attach the loop to a flat surface using tape or a clip for stability while braiding.
-
Preparation ensures even tension and reduces tangles while you work.
Basic Braiding Techniques
Three-Strand Basic Braid
The three-strand braid is fundamental for beginners and a building block for more advanced designs.
-
Start by holding the three strands in your dominant hand.
-
Cross the right strand over the middle strand.
-
Now cross the left strand over the middle strand.
-
Repeat until the desired braid length is achieved.
Fishtail Braid
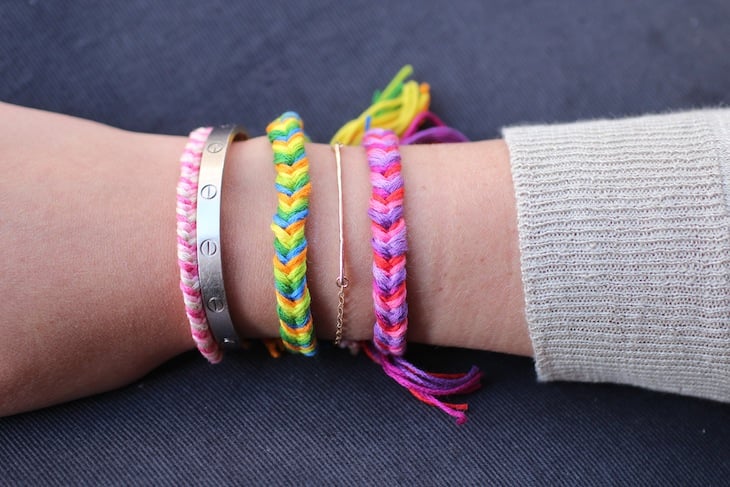
This alternative creates a sleeker, more intricate look.
-
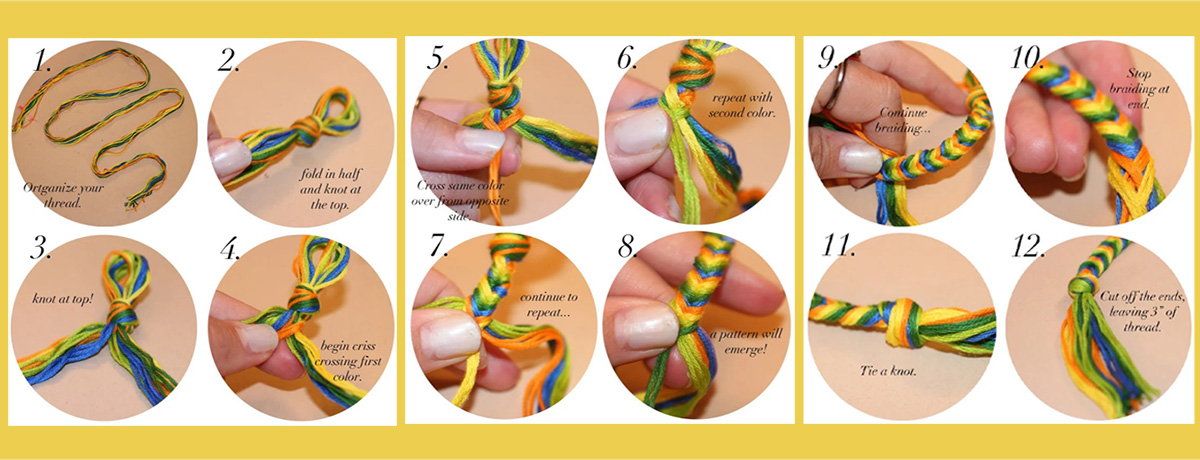
Organize your thread. You’ll need three forty inch strands of floss, in 5 colors (15 total strands.)
-
Fold bundle of floss in half, and carefully knot at the top, forming a loop. You’ll want your loop to be large enough later to wrap the ends through to tie it on to your wrist.
-
Sort your thread. On both the left side and right side, there should be three strands of each of your five colors. Keep each color together.
-
Begin the bracelet by criss-crossing the first color (bundle of three strands, I find it easier to start with the strand on the left) over to the opposite side.
-
Continue the bracelet by crossing the same color over from the opposite side.
-
Repeat steps 4 and 5 with your next color. Note – it won’t look very pretty at first.
-
Continue to repeat steps 4 and 5 with every color, keeping the floss tight and organized.
-
A really beautiful chevron pattern will emerge!
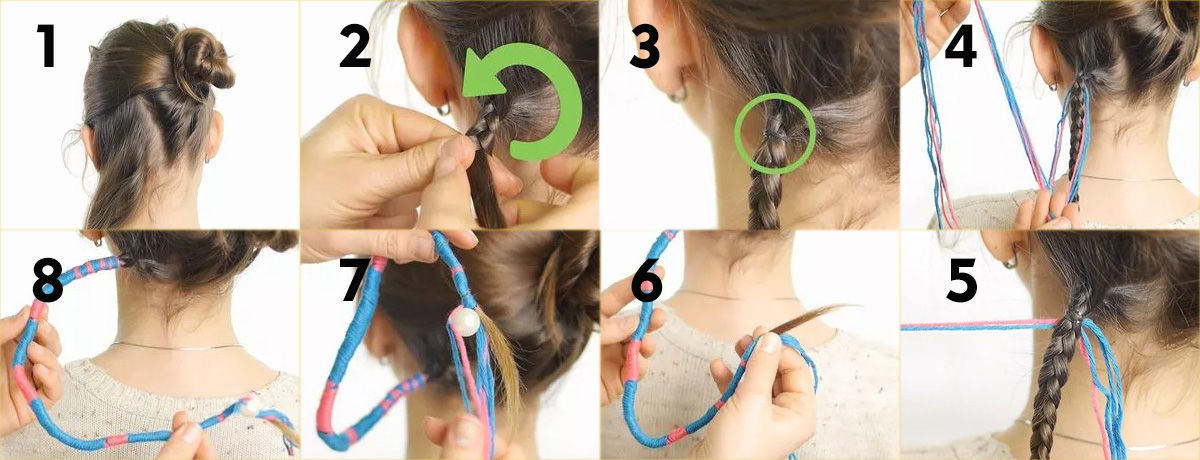
Braiding with Embroidery Floss in Your Own Hair
Adding embroidery floss to your hair creates a fun, boho-inspired look.
-
Comb your hair thoroughly and tie the rest of your hair back with the scrunchie
-
Braid your preferred section of hair
-
Make your braid last longer by using an extra hair elastic.
-
Hold the 3 strands of embroidery floss by their ends.
-
Select 2 (different colors will create a striped effect), pull them to the left of the plait, and smooth the other 4 down next to it.
-
Begin braiding the threads.
-
You must wrap the thread as tightly as possible, so that it sits horizontally across the plait, leaving no visible hair.
-
You can either stop braiding at the end of your hair, or continue past it, keeping the 4 unused strands on the right hand side.
-
-
Add beads to the end if you wish. If you wish to add beads, just slip them over the end of the braid.
-
Cut off any excess thread
This technique is perfect for festivals, vacations, and adding a unique touch to your hairstyle.
Troubleshooting Common Braiding Issues
Tangled Threads
-
Untangle by gently working through knots with your fingers or a needle.
Uneven Tension
-
Apply consistent pull pressure while braiding to avoid loops or slack.
Fraying or Breakage
-
Use high-quality embroidery floss and finish braids with clear nail polish or fabric glue at the ends.
Correcting these problems ensures a professional and long-lasting result.
Finishing and Caring for Your Embroidery Floss Braid
-
Finishing Steps
-
Tie a secure knot at the braid’s end.
-
Add embellishments like beads or charms for a decorative finish.
-
-
Caring for Braids
-
Avoid excessive handling to prevent fraying.
-
Store finished pieces flat or wound neatly to maintain their shape.
-
-
Cleaning Braids
-
Spot clean gently with a damp cloth. Avoid washing, as embroidery floss can shrink or lose vibrancy.
These steps will keep your braids looking fresh and well-maintained over time.
Craft Your Perfect Braid Today
Whether you’re making friendship bracelets, hair wraps, or decorative pieces, embroidery floss offers incredible versatility and beauty. With these step-by-step instructions, you’re well on your way to mastering embroidery floss braiding and unleashing your creativity.
Looking to level up your skills even further? Browse our selection of premium embroidery floss and DIY craft kits for inspiration and tools to create your next masterpiece.
Happy braiding!
